Perfectly Juicy Chicken: How to Brine Chicken Breast in Simple Steps
Ever cut into a chicken breast and found it dry and tasteless? I’ve been there too. The secret to making chicken taste amazing is to brine it. This simple method turns basic chicken into a juicy, flavorful meal that everyone will love.
Brining chicken isn’t just a trick—it’s a game-changer. By soaking your chicken in a salt solution, you add moisture and flavor. Each bite will be perfectly seasoned from the inside out.
Professional chefs have known this secret for years. Brining is the secret to delicious chicken. With just a few ingredients and some prep time, you can make your cooking as good as a restaurant’s.
Table of Contents
Understanding the Science Behind Chicken Brining
Brining chicken breasts is more than just cooking—it’s a science that turns simple meat into a feast. Exploring chicken brine recipes opens up a world of molecular magic. This magic ensures your chicken is juicy and full of flavor.
Salt is key in brining. It gets deep into the meat, changing its texture and taste. The science of brining involves salt getting into the meat, osmosis, and changing proteins.
How Salt Penetrates the Meat
Salt molecules are tiny and can easily get into meat. They break down proteins, spreading flavors evenly. This makes every bite full of taste.
- Salt breaks down protein bonds
- Creates microscopic channels for flavor
- Helps retain moisture within meat fibers
The Role of Osmosis in Brining
Osmosis is a big part of brining. When chicken is in saltwater, water carries salt and flavors into the meat. This keeps the chicken moist during cooking.
| Brining Duration | Moisture Retention | Flavor Intensity |
|---|---|---|
| 15 minutes | Minimal change | Slight improvement |
| 30-60 minutes | Significant increase | Optimal flavor |
| 2 hours | Maximum moisture | Risk of over-salting |
Chemical Changes During Brining
Brining changes the meat’s structure. Salt unwinds proteins, making room for water. This makes the chicken tender and juicy, even after cooking.
“Brining is culinary chemistry at its finest—transforming ordinary chicken into an extraordinary meal.” – Chef Michael Rodriguez
Knowing these science facts will make you a pro at chicken brining. It will take your cooking from basic to amazing.
Essential Equipment and Ingredients for Chicken Brining
To brine chicken breast well, you need the right tools and ingredients. The quality of your brine solution depends on these.
- Food-grade, nonreactive container (stainless steel or enameled stockpot)
- Large measuring cup
- Whisk
- Refrigerator space
- Airtight storage containers
For a basic brine, you need five main ingredients:
| Ingredient | Quantity | Purpose |
|---|---|---|
| Water | 1 gallon | Base liquid for brining |
| Kosher Salt | 5 tablespoons | Tenderize and flavor meat |
| Soy Sauce | 1/4 cup | Add depth of flavor |
| White Sugar | 2 tablespoons | Promote browning |
| Olive Oil | 2 tablespoons | Ensure moisture retention |
Pro tip: Always use kosher salt for the most accurate measurements and best results in your chicken brining process.
The secret to juicy chicken is not just in the cooking, but in the preparation before it hits the pan.
Choose a brining container that’s big enough to hold the chicken and leave room for it to chill. The brining time changes: 30-60 minutes at room temperature, or 1-2 hours in the fridge.
How to Brine Chicken Breast: A Step-by-Step Guide
Brining chicken breast makes it juicy and full of flavor. Learning how to brine chicken breast can make your cooking better. It ensures your meat is always tender and juicy.
Before we get into brining chicken breast, know it’s about making meat moist. The right method can greatly improve your dish.
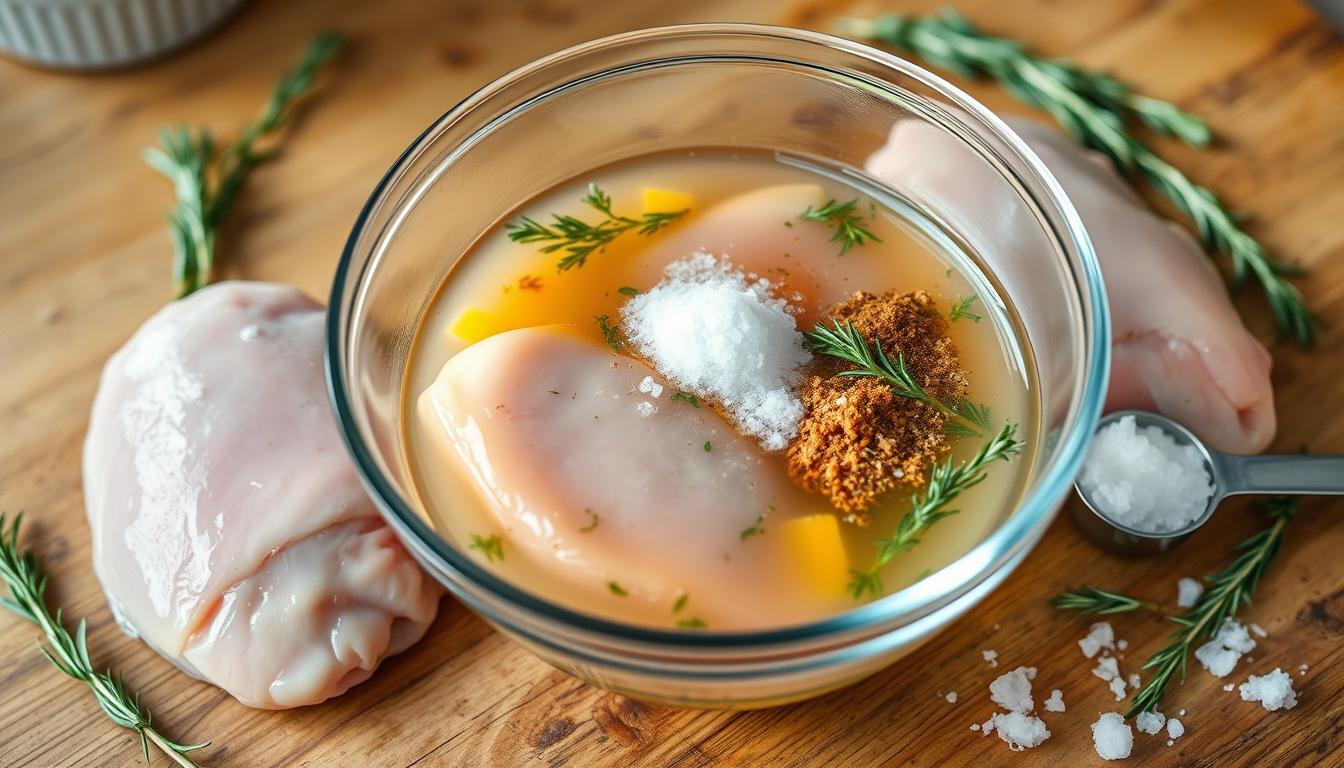
Preparing the Brine Solution
Making a good brine is key. Here’s a simple recipe for your chicken breast brine:
- 3 cups cold water
- 3 tablespoons kosher salt
- 2 tablespoons brown sugar
- 1 teaspoon garlic powder
- 1 teaspoon black peppercorns
Proper Brining Techniques
Here are the main steps for brining chicken breast:
- Dissolve salt and sugar in cold water
- Put chicken breasts in the solution
- Keep it in the fridge while brining
Temperature Control Tips
| Brining Parameter | Recommended Value |
|---|---|
| Brining Time | 30-45 minutes |
| Refrigeration Temperature | 40°F or below |
| Final Cooking Temperature | 165°F |
“Cold water is key to achieving the perfect brine penetration and moisture retention.” – Culinary Experts
By using these tips, you can make your chicken taste like it’s from a restaurant. It will always be juicy and full of flavor.
Choosing the Right Salt for Your Brine

Choosing the right salt is key when brining chicken breast. Different salts change the flavor and texture of your meat.
Not all salts are the same for brining chicken. The size of the salt crystals affects how well they dissolve and get into the meat.
- Kosher Salt (Diamond Crystal): Largest crystal size, requires more volume
- Morton’s Kosher Salt: Smaller crystals, more compact
- Table Salt: Finest crystals, most concentrated
“The salt you choose can make or break your chicken brining experience.” – Professional Chef
Here’s a quick guide for a standard chicken brine recipe:
- Diamond Crystal Kosher Salt: 1/4 cup per quart
- Morton’s Kosher Salt: About 3-4 tablespoons per quart
- Fine/Table Salt: 3 tablespoons per quart
Remember, too much salt can ruin your chicken. The best brine uses precise salt amounts, based on the type you choose.
Try different salts to find your favorite brining method. Each salt adds a special flavor to your chicken, making it tender and delicious.
Perfect Brine Timing for Maximum Juiciness
Getting the brining time right is key to making chicken breasts moist and tasty. Knowing how long to brine can take your cooking to the next level.
Exploring Brining Duration Options
The best time to brine chicken breasts is between 30 to 60 minutes. This time frame gives the most flavor and moisture without too much salt.
- Short brining (15-30 minutes): Minimal flavor enhancement
- Ideal brining (30-60 minutes): Maximum moisture and flavor
- Extended brining (2+ hours): Risk of excessive saltiness
Signs of Over-Brining
It’s important to know when chicken is over-brined. Look out for these signs:
- Extremely salty taste
- Spongy texture
- Overly soft meat consistency
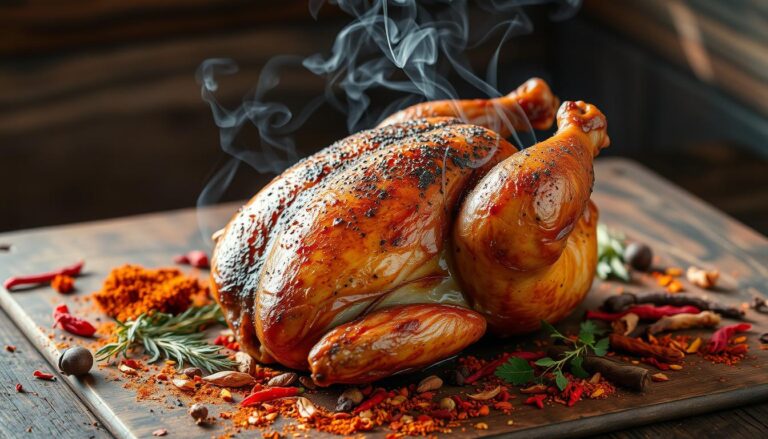
Optimal Brining Schedule
| Chicken Type | Recommended Brining Time | Best Temperature |
|---|---|---|
| Chicken Breasts | 30-60 minutes | Refrigerator (40°F) |
| Whole Chicken | 4-6 hours | Refrigerator (40°F) |
“Brining is a culinary technique that can elevate your chicken from good to extraordinary.” – Professional Chef
Remember, timing is everything when brining chicken. Stick to these guidelines for juicy, flavorful meat every time.
Adding Flavors and Aromatics to Your Brine
Turning your chicken breast brine recipes into something special is simple. Just add herbs, spices, and aromatics. This will make your brined chicken breasts taste amazing.
Brining chicken breasts is more than salt and water. It’s about choosing ingredients that make the meat taste better.
Classic Aromatic Combinations
- Rosemary and garlic
- Thyme and lemon zest
- Bay leaves and peppercorns
- Sage and crushed whole cloves
Make your brine a flavor bomb with these ingredients. Think about the flavors from different places to inspire your brine:
| Cultural Brining Style | Distinctive Ingredients |
|---|---|
| Moroccan | Lemon, vinegar, salt |
| Texan | Chili peppers, citrus juices, beer |
| South African | Dried herbs, salt, sugar |
Pro tip: When adding aromatics, remember that less is more. Start with small quantities and adjust to your taste preferences.
“The right combination of herbs and spices can transform an ordinary chicken breast into a culinary masterpiece.” – Professional Chef
Recommended Flavor Boosters
- Fresh herbs: Rosemary, thyme, sage
- Whole spices: Peppercorns, bay leaves
- Citrus elements: Lemon, orange zest
- Aromatic vegetables: Crushed garlic, shallots
Brining chicken breasts is an art. Try different mixes to find your favorite flavor.
Common Brining Mistakes to Avoid
Mastering chicken brining techniques means knowing what can go wrong. Even skilled cooks can make mistakes that ruin their brined chicken.
Here are the top chicken breast brining tips to steer clear of common errors:
Temperature Control Errors
Temperature is key for brining success. J. Kenji López-Alt warns against using warm water, as it can lead to unsafe bacteria. Always use cold water and keep your chicken cold during brining.
- Avoid room temperature brining
- Maintain refrigeration between 34-40°F
- Use a thermometer to monitor temperature
Salt Concentration Problems
Getting the salt right is essential. Too little salt means your chicken won’t absorb moisture. Too much salt makes it inedible.
“One cup of kosher salt per gallon of water creates the perfect brining solution.”
Timing Mishaps
Brining time is crucial. Here are some timing tips:
- Minimum brining time: 30 minutes
- Maximum recommended time: 4 hours
- Avoid over-brining, which can result in overly salty meat
Pro tip: For best results, stick to 1-2 hours for chicken breasts to ensure optimal flavor and texture.
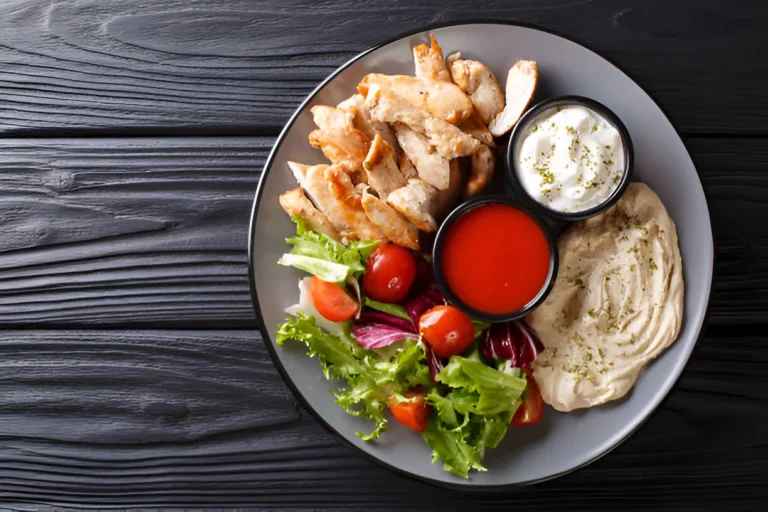
Best Cooking Methods for Brined Chicken
Learning how to brine chicken breast is just the start. Choosing the right cooking method is key to getting great results. Brined chicken is full of moisture and flavor, no matter how you cook it.

Brined chicken opens up many exciting cooking options. Here are some top methods to make your brined chicken a delicious meal:
- Grilling: Adds smoky flavor and keeps it moist
- Baking: Cooks evenly and keeps it tender
- Pan-Searing: Gives a golden-brown outside
- Roasting: Brings out rich, deep flavors
When cooking brined chicken, keep these temperature tips in mind:
| Cooking Method | Internal Temperature | Recommended Removal Temperature |
|---|---|---|
| Grilling | 165°F | 150-155°F |
| Baking | 165°F | 150-155°F |
| Pan-Searing | 165°F | 150-155°F |
“The key to perfect brined chicken is understanding how different cooking methods interact with your seasoned meat.”
Pro tip: Always let your brined chicken rest for 3-5 minutes after cooking. This lets juices spread out, making it tender and flavorful.
By learning these cooking methods, you’ll turn your brined chicken into a dish that wows everyone.
Storage Tips for Brined Chicken
Proper storage is key after brining chicken. It keeps the chicken safe and tasty. Knowing how to store it right is important.
Refrigeration Guidelines
Brined chicken needs careful handling. Here’s how to store it in the fridge:
- Store brined chicken in an airtight container
- Keep refrigerated at 40°F or below
- Consume within 3-4 days of brining
- Always use clean, food-safe containers
Freezing Instructions
Freezing is great for keeping chicken fresh longer. Here’s how to freeze it right:
- Pat chicken dry completely before freezing
- Wrap tightly in plastic wrap or freezer paper
- Place in a freezer-safe bag, removing excess air
- Label with the date of brining
- Store frozen chicken for up to 2-3 months
“Proper storage is the key to maintaining the juiciness and flavor of brined chicken.” – Culinary Expert
| Storage Method | Maximum Storage Time | Temperature |
|---|---|---|
| Refrigerator | 3-4 days | 40°F or below |
| Freezer | 2-3 months | 0°F or below |
Pro tip: Always thaw frozen brined chicken in the refrigerator to maintain its quality and prevent bacterial growth.
Troubleshooting Your Chicken Brine
Mastering chicken breast brining tips can be tricky. Even experienced home cooks face challenges. Knowing common problems helps you get juicy and flavorful results.
- Overly Salty Chicken: This happens when brining time exceeds recommended duration
- Tough Texture: Often results from incorrect salt concentration
- Lack of Flavor Absorption: Can be caused by improper brining techniques
Your brining success depends on understanding these key factors:
| Issue | Potential Cause | Solution |
|---|---|---|
| Excessive Saltiness | Brining longer than 2 hours | Reduce brining time to 30-60 minutes |
| Weak Flavor | Insufficient salt concentration | Use 1 tablespoon salt per cup of water |
| Spongy Texture | Over-brining | Stick to optimal 1-hour brining window |
“Precision is key in chicken breast brining – time and salt make all the difference.” – Professional Chef
By paying attention to these details, you’ll transform your chicken from bland to grand. Remember, practice makes perfect in the art of brining!
Conclusion
Exploring chicken brining techniques can make your cooking amazing. By learning about brining chicken breast benefits, you’ll create juicy, flavorful meals. The secret is in the right amount of salt, timing, and preparation.
Brining is more than just seasoning. It lets salt and water deeply penetrate the meat. This makes each bite moist and perfectly seasoned. You can brine for 30 minutes to 4 hours, depending on the cut and your preference.
Keep trying different brining methods to get better. Use apple juice or beer, mix herbs, and adjust as needed. The aim is to make chicken breast up to 20% more moist than usual.
Brining will take your cooking to the next level. It’s a simple yet powerful technique for home cooks and chefs alike. Just remember to enjoy the process and the tasty outcomes.